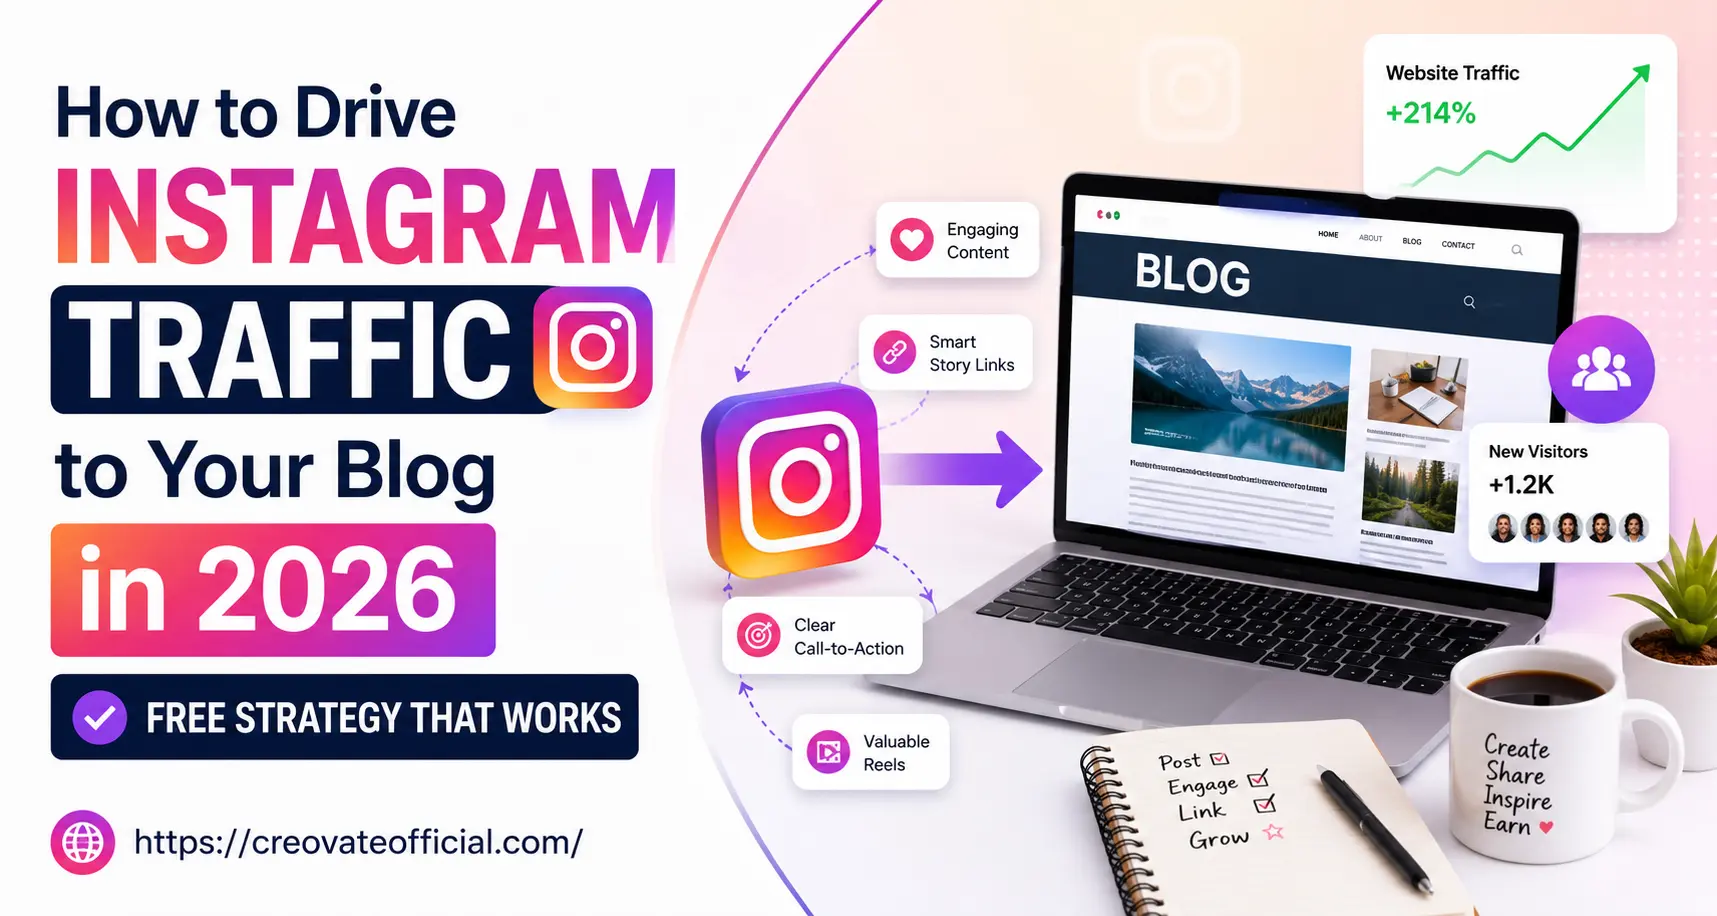
How to Drive Instagram Traffic to Your Blog in 2026
A free, repeatable system for turning Instagram followers into actual blog readers — no ad budget required.
Quick Answer
To drive Instagram traffic to your blog in 2026, optimize your bio link, use the Story link sticker every time you publish, turn your best posts into a pinned "Blog" highlight, and use Reels for discovery — not direct linking. Combine that with a consistent posting rhythm and a lead magnet that moves people off Instagram and onto your email list, where you actually own the relationship.
🎁 Free Online Income Starter Kit (2026)
Grab the free kit and get on our list for more blog + Instagram growth tactics.
Why Trust This Guide
This guide is built from running Creovate Official's own Instagram-to-blog funnel, not from recycled advice. Every tactic below has been tested on a real account promoting real blog posts, and we've kept the ones that consistently moved the needle and cut the ones that didn't (looking at you, hashtag-stuffing).
- Real testing: Recommendations reflect what actually converts profile visits into blog clicks, not just what gets likes.
- Industry knowledge: Written with current 2026 Instagram features — link stickers, collab posts, and a focus on content people genuinely want to save, share, and send, rather than chasing vanity metrics.
- Transparency: We tell you what doesn't work too, including tactics that used to work and quietly stopped.
- Affiliate disclosure: This page contains affiliate links. If you buy through one, we may earn a small commission at no extra cost to you. We only recommend tools we'd use ourselves — see the full note near the bottom.
Table of Contents
- Set Up an Instagram Profile That's Built to Send Traffic
- Master the Only Real Link Options Instagram Gives You
- Use Reels for Discovery, Not for Direct Linking
- Turn Stories Into Your Traffic Engine
- Write Captions That Actually Push People to Click
- Build a Content Calendar That Supports Your Blog
- Grow Reach Without Buying Followers
- Capture the Traffic Once It Lands on Your Blog
- Tools Comparison Table
- Individual Tool Reviews
- Pros & Cons Summary
- Which Tools You Actually Need
- Frequently Asked Questions
- Final Verdict
- Related Resources
Step 1Set Up an Instagram Profile That's Built to Send Traffic
Before you post a single Reel, fix your profile. Most of your blog traffic won't come from a viral post — it'll come from people who land on your profile after seeing one thing you made, and decide in three seconds whether to tap your bio link.
- Name field: Use your niche keyword here, not just your brand name (e.g., "Suresh | Blogging & Passive Income" instead of just "Creovate Official"). This field is searchable.
- Bio: Three lines max. Line 1 = who you help, line 2 = the result, line 3 = the CTA pointing at the link below.
- Bio link: Point it at either your latest cornerstone blog post or a simple link-in-bio page if you promote more than one thing regularly.
- Highlights: Create a "Blog" highlight and a "Start Here" highlight so new visitors have an obvious next step even if they scroll past your grid.
Step 2Master the Only Real Link Options Instagram Gives You
This is the part beginners get wrong the most: you cannot put a clickable link inside a regular caption. For most creators, the two most important organic traffic paths are the link available from your profile and the link sticker on Stories, and your whole strategy should be built around them.
1. The bio link
One link, always available, never expires. This should always point somewhere useful — never "link in bio, see above" with a dead placeholder.
2. The Story link sticker
Available on every Story, disappears after 24 hours unless saved to a highlight. It can reduce friction because visitors reach the destination directly from the Story, without the extra step of visiting your profile first.
Step 3Use Reels for Discovery, Not for Direct Linking
Reels get you in front of people who don't follow you yet. That's their job — not sending traffic directly, since you can't add a clickable link inside a Reel. Treat every Reel as a top-of-funnel tool that earns a profile visit.
- Hook viewers in the first 1.5 seconds with the pain point your blog post solves.
- End with a specific, single instruction: "Full guide is linked in my bio" — not a vague "check out my page."
- Repurpose your best-performing blog headlines as Reel hooks; if it worked in an SEO title, it'll often work as a spoken hook.
- Post a Story with the link sticker within an hour of publishing a Reel, so engaged viewers have an immediate, frictionless path to click.
Step 4Turn Stories Into Your Traffic Engine
Stories are underrated for blog traffic because the link sticker sits right there, one tap away, with none of the friction of a bio visit.
- Every time you publish a new post, post a 2–3 slide Story sequence teasing it, ending with a link sticker.
- Use polls or question stickers on the slides before the link — engagement signals push you higher in the following's Story order.
- Save your best link-driving Stories into a permanent "Blog" highlight so they keep working long after 24 hours.
Step 5Write Captions That Actually Push People to Click
A caption's job isn't to repeat the blog post — it's to create a reason to leave Instagram and go read it.
- Open with the specific outcome or number your post delivers, not a generic greeting.
- Include one open loop your blog post answers but your caption doesn't fully resolve.
- End with one clear CTA — "Full breakdown in my bio" — repeated only once, not three times.
- Use a handful of genuinely relevant hashtags rather than maxing out the limit — relevance tends to matter more than volume.
Step 6Build a Content Calendar That Supports Your Blog
Every blog post you publish should generate at least three Instagram touchpoints: one Reel, one carousel breaking down the key points, and one Story sequence. This turns a single article into a week of content instead of a one-off post.
| Blog Post Stage | Instagram Content | Goal |
|---|---|---|
| Day of publish | Story sequence + link sticker | Immediate traffic to new post |
| 2–3 days later | Carousel summarizing key takeaways | Saves, shares, profile visits |
| 1 week later | Reel using the post's core hook | Discovery + new followers |
Step 7Grow Reach Without Buying Followers
- Collab posts: Co-author a post or Reel with a creator in your niche — it publishes to both audiences at once, at no cost.
- Comment strategically: Leave genuinely useful comments on 5–10 relevant accounts daily rather than generic emoji comments.
- Repost UGC: If someone shares your blog content, repost it to Stories with credit — social proof drives new profile visits.
Step 8Capture the Traffic Once It Lands on Your Blog
Instagram traffic is rented, not owned. The whole point of driving it to your blog is converting a fraction of those visitors into email subscribers you control directly.
- Place an email opt-in above the fold on any post you promote from Instagram.
- Offer a lead magnet tied specifically to the post's topic — generic "join my newsletter" forms convert far worse.
- Follow up with a short welcome sequence that references how they found you, which keeps the Instagram-to-blog thread consistent.
Tools Comparison Table
None of these are required to drive Instagram traffic — the strategy above works with zero budget. But if you're producing content weekly, the right tools save real hours. Here's how the ones we actually use stack up.
| Tool | Best For | Pricing Model | Best For (Audience) |
|---|---|---|---|
| Rytr | AI caption & blog draft writing | Free tier + paid plans | Bloggers writing captions and posts fast |
| CapCut | Editing Reels & Stories | Free tier / paid features vary by region | Anyone producing Reels weekly |
| GetResponse | Email capture & automation | Free trial + paid plans | Turning blog visitors into subscribers |
| Systeme.io | Link-in-bio pages & funnels | Free plan available | Bloggers who promote more than one link |
| Synthesia | AI talking-head video | Paid plans | Creators who want video without filming |
| CustomGPT | Custom AI chatbot for your blog | Paid plans | Sites wanting on-page AI assistance |
| FastPixel | Blog hosting & site speed | Paid plans | Bloggers whose site needs to load fast from mobile Instagram traffic |
| Fiverr | Outsourcing Reels/design/edits | Pay per gig | Creators who'd rather delegate production |
Individual Tool Reviews
Rytr — AI Writing Assistant
Overview
Rytr helps you draft Instagram captions, blog intros, and content ideas quickly, which is useful when you're producing three touchpoints per blog post as recommended in Step 6.
Features
Caption templates, tone adjustment, multiple language support, and a browser extension for drafting on the go.
Advantages
Fast first drafts, generous free tier to test before committing, easy to use for non-writers.
Drawbacks
Output still needs a human edit pass to sound like you, not a generic AI voice.
Best for: Bloggers who freeze up writing captions and need a fast starting draft. Pricing: Free tier available, paid plans scale with usage — check current pricing on their site since it updates periodically.
CapCut — Reels & Story Editor
Overview
The most widely used free video editor for creators making Reels, with templates built specifically for Instagram's vertical format.
Features
Auto captions, trending templates, keyframe animation, and easy export directly formatted for Instagram Reels.
Advantages
Genuinely free, mobile and desktop versions, huge template library that speeds up production.
Drawbacks
Trending templates can make your content look like everyone else's if overused — mix in original edits.
Best for: Anyone following the Step 3 Reels strategy above. Pricing: Free tier available; paid features and availability can vary by region, so check current details on their site.
GetResponse — Turn Blog Visitors Into Subscribers
Overview
This is the Step 8 tool — once Instagram sends someone to your blog, GetResponse captures their email so you're not permanently dependent on the algorithm.
Features
Opt-in forms, automated welcome sequences, landing pages, and audience segmentation by how a subscriber joined.
Advantages
All-in-one, so you're not stitching together separate form and automation tools; solid deliverability.
Drawbacks
More features than a brand-new blogger may need on day one — there's a learning curve.
Best for: Bloggers ready to build an email list from Instagram traffic. Pricing: Free trial, then tiered paid plans based on list size.
Systeme.io — Link-in-Bio & Funnel Pages
Overview
If you promote more than one blog post or offer at a time, a single bio link becomes limiting. Systeme.io builds a simple landing page listing all your active links.
Features
Drag-and-drop page builder, funnels, email tools, and a free plan that covers basic link-in-bio use cases.
Advantages
Free to start, doubles as a full funnel builder if you later sell digital products.
Drawbacks
Overkill if all you need is a simple link page — the free plan is the right entry point, not the paid tiers, until you're ready to scale.
Best for: Bloggers juggling multiple active promotions. Pricing: Free plan available; paid plans unlock more funnel features.
Synthesia — AI Talking-Head Video
Useful if you want a face-forward Reel or blog video without filming yourself, though AI avatars read as less "human" than real founder-led content — best used selectively, not as your main format. Best for: creators comfortable blending AI video with real content. Pricing: paid plans, no free tier.
CustomGPT — On-Site AI Assistant
Trains a chatbot on your own blog content so Instagram visitors can ask questions on the page instead of bouncing. Only worth it once you have a sizeable content library — a brand-new blog with a handful of posts won't give it much to work with. Best for: established blogs. Pricing: paid plans only.
FastPixel — Blog Hosting & Speed Optimization
Instagram traffic is overwhelmingly mobile, and a slow-loading blog costs clicks the moment someone taps your bio link. FastPixel focuses on caching and speed optimization — a bigger commitment than a caption or editing tool, so evaluate it against your current host first. Best for: bloggers whose site feels slow on mobile. Pricing: paid plans, check current tiers on their site.
Fiverr — Delegate Reels, Design & Editing
If content production is the bottleneck stopping you from running the Step 6 calendar, Fiverr lets you outsource specific tasks — Reels editing, carousel design, captions — instead of doing everything yourself. Quality varies by freelancer, so vet portfolios and start with a small test gig. Best for: creators who'd rather delegate than DIY every asset. Pricing: pay per gig, varies widely.
Pros & Cons Summary
What Works Well
- Free to execute — no ad spend required to start
- Story link sticker can reduce friction compared with feed captions
- Reels reliably grow reach when paired with a bio-link CTA
- Repurposing one blog post into three content pieces saves planning time
Real Limitations
- Instagram only gives you one clickable link at a time in the bio
- Reels don't support direct linking, so discovery takes an extra step
- Algorithm changes can shift what performs, so tactics need rechecking every few months
- Results build over weeks, not overnight — this isn't a growth-hack shortcut
Which Tools You Actually Need (Buying Guide)
What to look for: Start with tools that have a genuine free tier — CapCut, Rytr's free plan, and Systeme.io's free plan cover the entire content-and-link workflow at zero cost. Only add paid tools once a specific bottleneck appears.
Common mistakes: Buying an email platform before you have consistent traffic, or a hosting upgrade before confirming speed is actually the problem (test with a free page-speed checker first).
Budget considerations: If you're just starting, spend $0 for the first 60–90 days and prove the content system works before paying for anything.
Who should buy premium tools: Bloggers already posting consistently who are hitting a specific ceiling — slow load times, disorganized links, or no time to edit video themselves.
Who should avoid them for now: Anyone who hasn't posted consistently for at least a month. Fix the habit before you fix the toolkit.
Frequently Asked Questions
Can you actually put a clickable link in an Instagram post?
Not in the caption itself. For most creators, the two main organic traffic paths are the link available from your profile and the link sticker on Stories. That's why the "link in bio" habit exists, and why Stories with a link sticker tend to reduce friction compared with sending people to a feed post first.
How many followers do I need before Instagram sends real blog traffic?
You don't need a big following. A few hundred engaged, niche-relevant followers who trust your content will click through more reliably than 50,000 passive followers. Focus on relevance and trust before chasing follower count.
Do Instagram Reels actually help blog traffic or just followers?
Reels are mainly a discovery tool, not a traffic tool, because you can't link directly inside them. Their real job is getting new people to your profile so they tap the bio link. Pair every Reel with a strong bio-link CTA and a pinned Story highlight.
What's the fastest free way to drive Instagram traffic to a blog?
Post a Story with the link sticker pointing at your newest blog post right after it goes live, then pin the best-performing posts to a permanent "Blog" highlight so new visitors always have a path to your content.
Should I use a link-in-bio tool or just link straight to my blog?
If you only ever promote one thing, link straight to the blog post. If you regularly promote multiple posts, a lead magnet, and a product, a link-in-bio landing page keeps things organized and is worth setting up once your posting is consistent.
How often should I post on Instagram to grow blog traffic?
A consistent schedule of three to four quality posts a week, mixed between Reels and carousels, with a Story every time you publish, is a practical starting point — especially if that's a pace you can sustain without dropping quality.
Does Instagram traffic actually help my blog's SEO?
Social traffic is not a direct Google ranking factor, but it indirectly helps: more visitors, more time on page, more email subscribers, and more backlinks from people who discover your content through Instagram and later link to it.
Final VerdictThe System, Not the Shortcut, Is What Works
Driving Instagram traffic to your blog in 2026 comes down to four repeatable habits: an optimized bio link, a Story link sticker every time you publish, Reels used for discovery rather than direct linking, and an email capture on the other end so the traffic isn't wasted. None of it requires a big following or a budget — it requires consistency over a full content cycle, not a single viral post.
Next step: Pick one blog post you already have, build the three-touchpoint content calendar from Step 6, and run it for two weeks before judging results.
Get the Free Starter Kit →